How to knit seafoam stitch
Published on May 14, 2014 By Amy Kaspar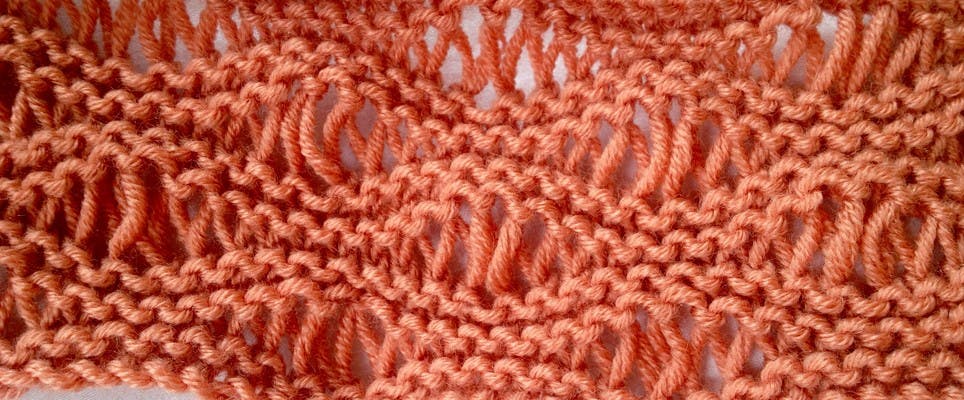
It’s fun to learn a new stitch, and our fabulous knitter Amy Kaspar is just the girl to show you how! This week she tackles seafoam stitch…
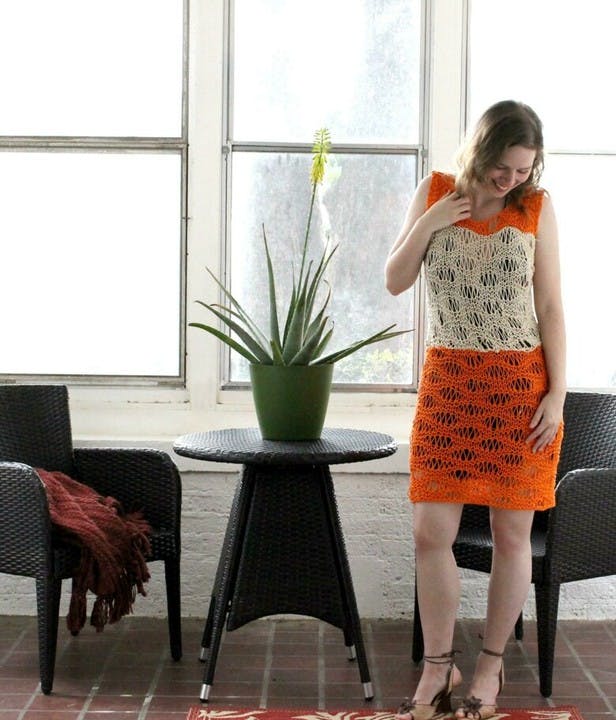
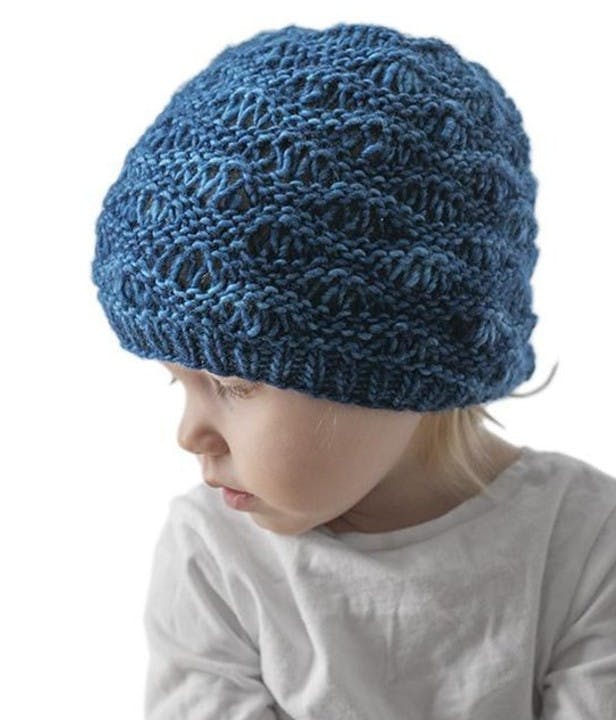
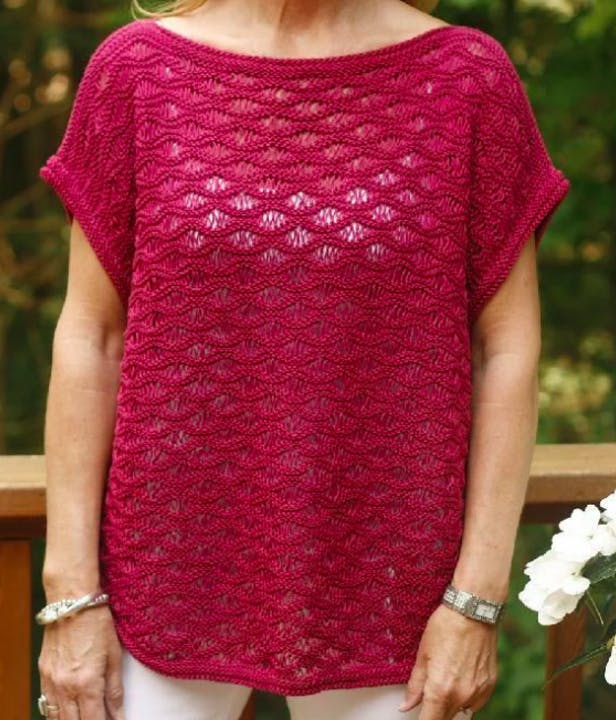
With summer on its way, the need to knit lighter, breeze-worthy items is upon us. Seafoam stitch (also known as wave stitch) is the perfect choice because it can work with any yarn at all, and it is easy to keep track of where you are if you put it down. Since the stitch has a wavy pattern – hence its name – it is ideal for everything from light cardigans and baby christening dresses to table runners and placemats at home.
Seafoam stitch is super-easy; if you are afraid to try lace, then this is a good transition before you take the leap. Also, since there is not a single purl in the bunch, the stitch pattern is easy enough for a beginner. My favorite part, of course, is that with all of the time I spend pulling up stitches I accidentally drop, the seafoam stitch lets me drop stitches on purpose.
This stitch does eat up a fair amount of yarn, but keep in mind that your knitted piece will also grow fairly quickly as well. If you use a variegated yarn, the colors will pop because each garter stitch will be next to a different color, and each elongated stitch will show off the length of only one or two colors at a time. The effect is truly stunning. Give seafoam stitch a whirl, and see just how truly easy this beautiful pattern really is.
What's a YO?
YO! The knitting instruction 'YO' stands for 'yarnover', and it means to bring the yarn forward round the needle as if to wrap for a knit stitch before the next stitch on the needle. Sometimes, this direction is written as 'yf', or 'yfwd', or even 'yfd'. To YO twice and three times means to bring the yarn forward around the needle that many times before knitting the next stitch.
Because of all of the yarnovers, you do want to make sure you have a long enough needle to accommodate all of the extra yarn you are using per row. I used a 100cm/40in circular needle for the demonstration, and I cast on ninety stitches. I am making placemats for my new dining room.
Pro Tip
You can use any yarn, and try using the needle size that will give you an average (not too tight, not too loosey-goosey) gauge.
1
Cast on a multiple of ten stitches.
Rows 1 & 2: K all sts
2
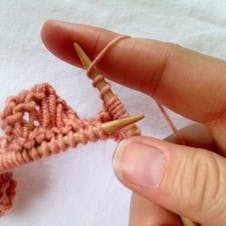
Row 3: K8, (YO, K1, YO twice, K1, YO three times, K1, YO twice, K1, YO, K6) to the last two sts, K2
3
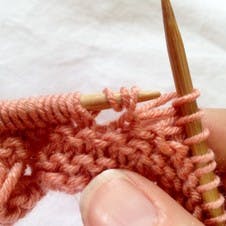
Row 4: K the stitches, dropping the YOs
4
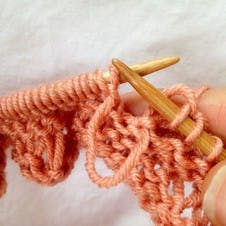
Rows 5 & 6: K all sts
5
Row 7: K3, (YO, K1, YO twice, K1, YO three times, K1, YO twice, K1, YO, K6) to the last seven sts, (YO, K1, YO twice, K1, YO three times, K1, YO twice, K1, YO, K3)
6
Row 8: K the stitches, dropping the YOs
The yarnovers should fall off of the needle fairly easily, but in case they do not, then you know it is time to knit when you see that little stretched out purl bump under the stitch. If you see yarn thrown over the needle, drop it. If you see a little turtleneck hugging the stitch, knit it.
The stitches will feel unusually loose because of all of the extra yarn, but have no fear: all you are doing is adding yarn to create an elongated stitch. The order these stitches appear in the pattern create a wave; you will see that when you reach the next yarnover row. The largest yarnovers happen above the knit stitches in the other yarnover row.
What row am I on?
You can tell where you left off by a few different indicators, so just use the one that works best for you if you ever get lost.
If you have a million yarnovers on your needle, count the stitches from the beginning to the first yarnover so you can tell if you have just completed row 3 or row 7.
Use your yarn tail to determine if you are on an odd or an even row; I know when my tail is to the left, I am about to start an odd-numbered row because I use the knitted cast-on. If you use the long-tail cast-on, the tail to the right indicates an odd-numbered row.
Finally, if you see two complete garter ridges over the last elongated-stitch section, you are ready for a yarnover row. You will also know which yarnover row you need to start because the elongated stitches just below the needle are closest to the end, then you will start the section with more knit stitches at the beginning.
If you have a four-ridge swatch of garter stitch at the beginning between the needle and the last set of elongated stitches, then you know you start row 7.
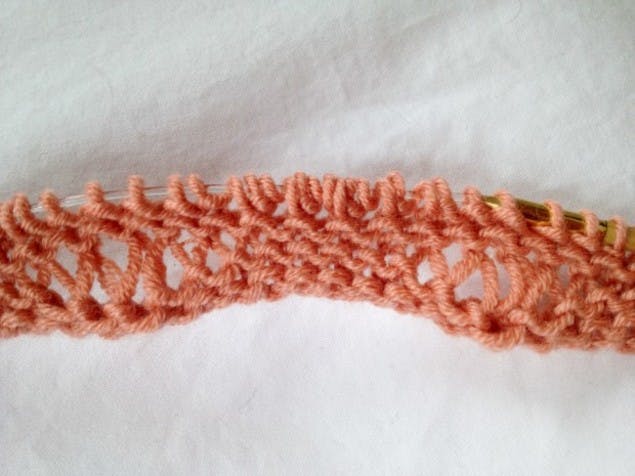
If you think you have made a mistake, since you are knitting every single row in garter stitch, you can just rip out to a row below the one with the yarnovers if necessary. You will have a row of knit stitches just waiting for you to pick back up.
The completed piece can usually benefit from blocking, but the larger the piece is, the more the stitches will naturally stretch out on their own. After each row where you have dropped the yarnovers, you can give a slight tug to the stitches if you like. You want to finish whatever you are knitting in seafoam stitch either on row 3 or row 6, so you have those two garter ridges as your edge.

