Learn how to knit intarsia
Published on 3 December 2019Make your knitwear picture perfect! Learn how to knit intarsia in this beginners step-by-step guide with Merion. Plus we have some fab free intarsia knitting patterns for you to try out!
So what’s intarsia?
Intarsia is a colourwork technique that enables you to make cool shapes and images in your knitwear! Think jazzy jumpers, snazzy socks, dazzling decor - not to mention epic festive sweaters! It isn't a hard skill to pick up but it can take a lot of patience and practice with all the difference colours and strands that you will have to use.
What's the difference between intarsia and fair isle knitting?
Unlike other colourwork techniques like fair isle stranded knitting, intarsia uses separate bobbins so you don’t need to carry the yarn along the back of your project. Instead, every time you switch colours you use bobbins to reintroduce the colour, or pick up from where you left the working yarn.
Materials
Beginnner's step-by-step to intarsia - knitting the test swatch
Knit in stocking stitch
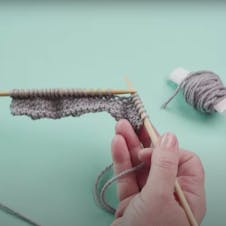
Start by knitting a couple of rows in a standard stocking stitch in colour A, and then start a new row, knitting up to where you will be changing colour.
Knit in your first colour
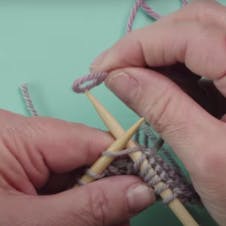
Take your bobbin of colour B and make a simple loop. Knit into the next stitch and then use colour B to pull through. Make sure your colour change yarn is always sitting underneath your working yarn, as this will trap the yarn and avoid holes. Knit with colour B for desired length.
Change back to your original colour
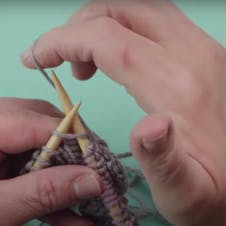
When you are ready to change back to colour A, take the bobbin with colour A, change colour by looping it around and under colour B and knit to the end of the row.
Intarsia in purl stitch
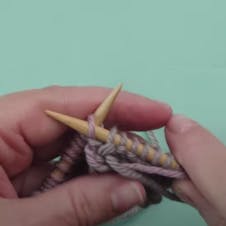
Purl the next row. Purl back to the point where you change colour and repeat the process as above. Once you’ve reached the end of your row, carefully turn your work around. Continue on next rows to complete your swatch.
Sew in your ends
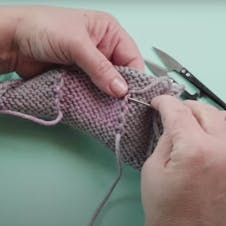
Sew in the ends. Go back through each of the loops created by the intarsia so the colourwork does not come underdone. This will keep the picture all together and avoid any holes in your work.
Top tips for perfect pictures!
- Keep your bobbins tidy! Stop after each colour change and make sure you untangle the bobbins. If you leave them more than a row, you'll get tangled!
- When you change colour, don't forget to take the new colour under the old colour to secure the yarn and stop any holes forming.
- Don't pull too tight! If you pull all the yarns too tight your picture will pucker. It may look bumpy and uneven but blocking will help to settle the fibres down and make it even.
- Don't panic! If you end up with holes, you can sew them closed from the back after you've finished!
6 more intarsia knitting patterns you’ll love!
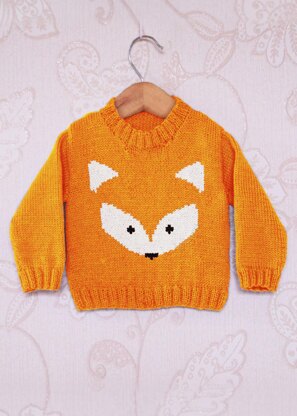
Intarsia - Fox Face Chart - Childrens Sweater
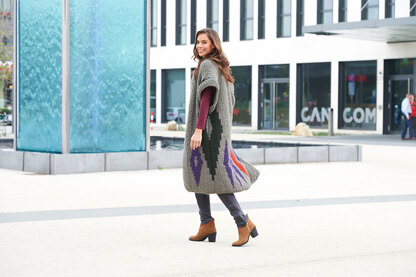
Vest with Intarsia Motifs in Schachenmayr Highland Alpaca - S9360 - Downloadable PDF
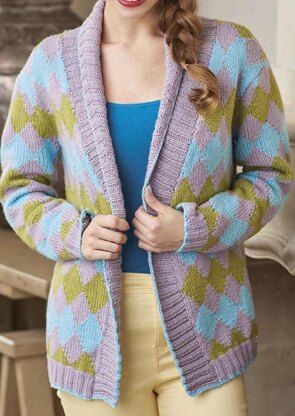
Diamond Intarsia Cardigan

Heaps of Heart Cardigan - Free Knitting Pattern For Women in Paintbox Yarns Wool Mix Aran
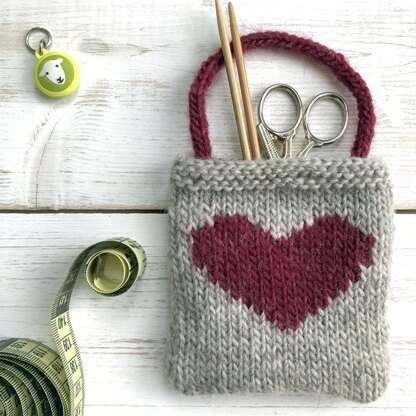
Intarsia Heart Gift Bag

Cathy Bubble Cardigan - Free Knitting Pattern in Paintbox Yarns Baby DK