How to sew mattress stitch
Published on 28 November 2018 By Amy Kaspar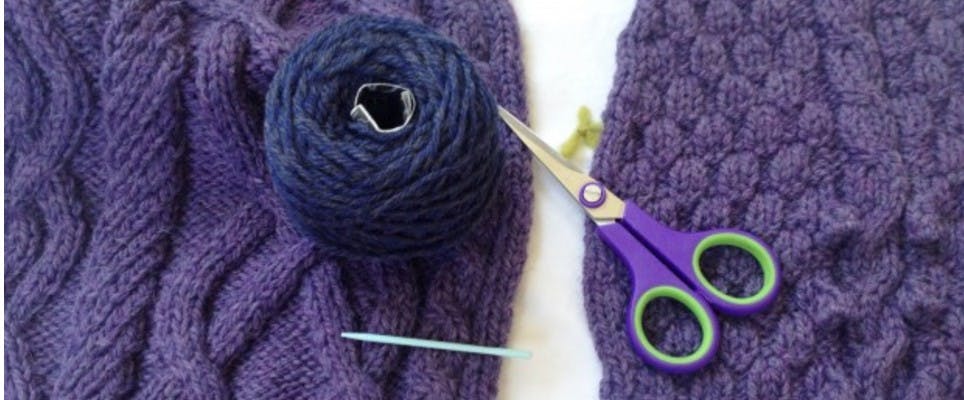
Are you a knitter that loathes sewing up? We feel exactly the same way! Never fear, we have Amy Kaspar to take the mystique out of mattress stitch to make sewing up less of a chore…
Materials
Mattress stitch is a seaming technique that can be almost undetectable when done correctly. It comes in handy especially when seaming stocking stitch pieces together, because you then have the stability of a seam without actually seeing it.
It is a very easy technique, but trying anything new is scary, right? Still, it’s just yarn. We can try until we get it right. So let’s try it!
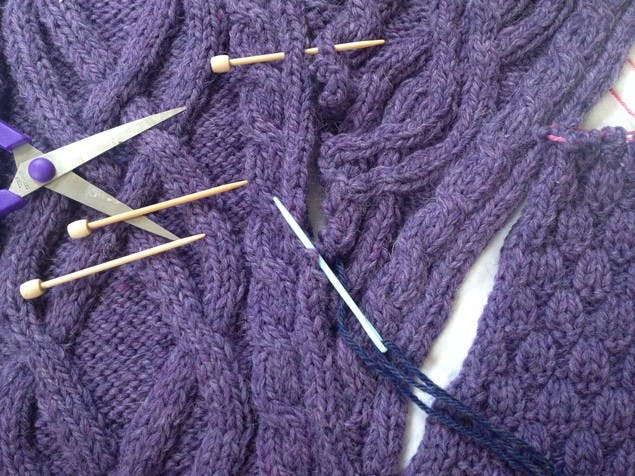
If you are easing in one side that is longer than the other, you will see in the second part of this post that some basting (tacking) needles or pins will come in handy.
Compatible seams
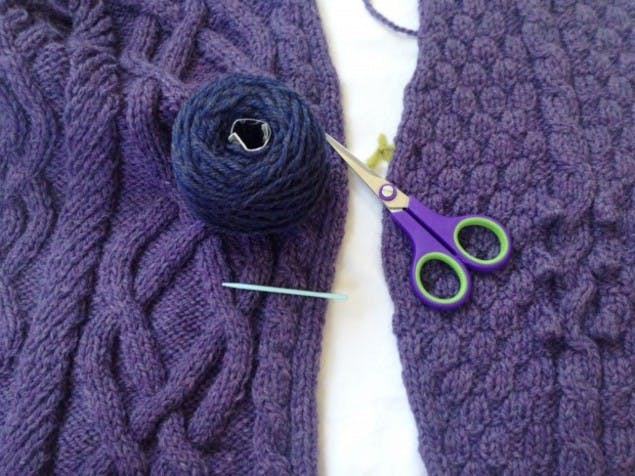
The first two pieces are being seamed stitch-to-stitch, meaning they are exactly the same length. You can use either the same yarn as the knitted piece, or a different yarn in the same weight and fibre, or one weight-class lighter than your piece. My seaming yarn is blue.
The best thing in the world about mattress stitch is that it is invisible." - Amy Kaspar
You are basically marrying the middles of two stitches, so the naked eye sees the right half of one stitch next to the left half of the other one.
Sewing stitch-to-stitch
1
Setting up:
Cut a long piece of yarn - at least twice as long as the seam.
Lay each piece flat with the right sides up, and align them next to each other.
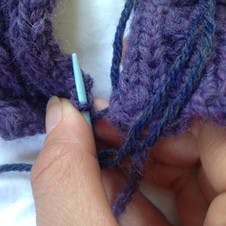
Thread your needle and go in through the corner, first cast-on or bind-off stitch on either piece, from wrong side to right side.
Then go through the corner of the other piece in the same place, but this time from right side to wrong side.
Leave yourself a six-inch tail to weave in and secure later.
2
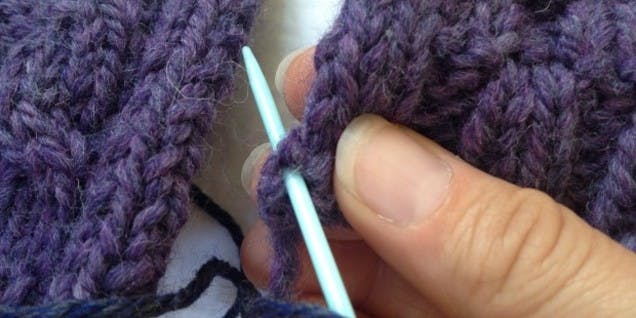
Sew the horizontal bars:
The top of knit stitches creates a horizontal bar behind the v-shaped stitch above the one you are in.
Pull the next stitch through the other side of that bar.
For each stitch after that first one, you just alternate from one piece to the other, and slide the needle under that bar and through the other side of it.
Pro Tip
If you are seaming stitch-to-stitch, you want to find that next bar above where your seaming yarn came out of the piece last time, not skipping stitches.
Doing this in one motion, instead of a two-part stitch first to the back and then through to the front, will save tons of time. Saved time means more time later for knitting instead of sewing. Win!
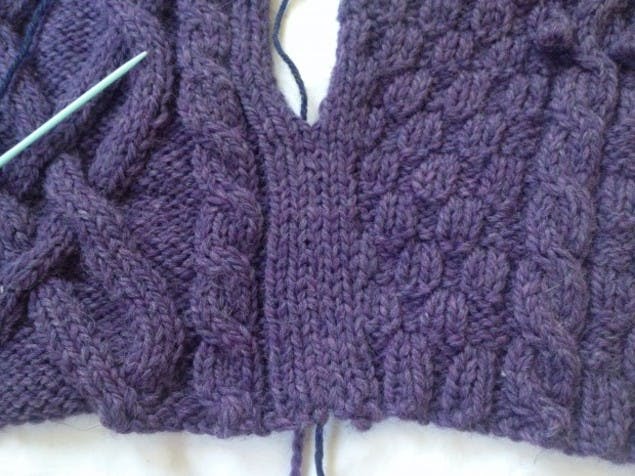
The outside edge of the stitches curl inward to the wrong side of the piece, and what you see is the two halves of the seamed stitches mirroring each other. If you flip over to the wrong side, you should see a column of stocking stitches; these are the other halves of the stitches mirroring each other.
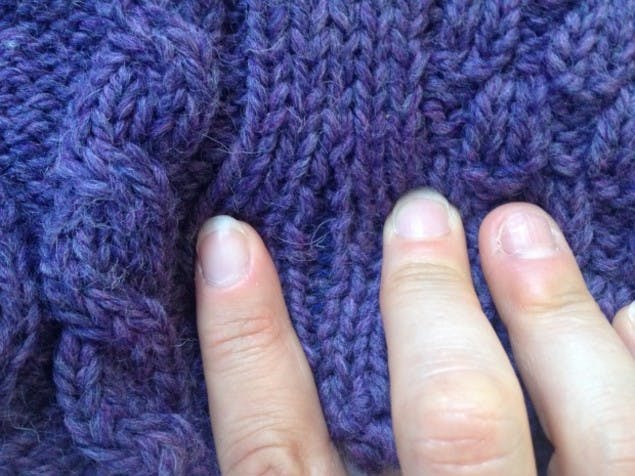
When done correctly, the seam is invisible. When you separate the stitches, you really, really have to work hard to look for the seaming yarn.
It is difficult to see because unlike many other seams, for this one you get to give the yarn a really good tug and not mimic your knitting tension. Pull as strongly as you need, making sure your seam is not buckled, but strongly enough so you do not have a loose strand going from side to side. The point is to hold the two pieces together as closely as possible, after all.
As you go, look back from your work. Does it look invisible? If so, success! If you skip one stitch by accident, no need to stress out about it; unless you are using super-bulky yarn or you absolutely have to be perfect, nobody will notice.
If you do need to pull the stitches out and start over again, however, just separate the pieces from your last seaming stitches a bit and use your tapestry needle to pick the stitches out one at a time.
Pro Tip
It is okay if you have to start over again; since your yarn is separate from your knitted pieces, nothing will unravel on you.
Incompatible seams
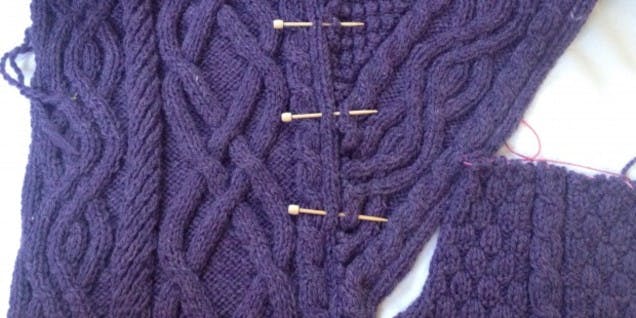
When seaming two pieces with incompatible seams, or when one side is longer than the other, no worries. The technique is the same, but it helps to pin the pieces in place so you can see shorter chunks of sewing as you progress.
1
Pin pieces into place:
Pin the beginning and end with a basting needle first - you could also use locking stitch markers.
Divide the middle into manageably-sized sections by pinning the ease evenly into every few inches of knitting.
2
Seam and skip:
Easing in a longer side involves seaming every single stitch on one side, and skipping stitches on the other side at even intervals.
By going in from the right side, whether it is on a stocking stitch selvedge or a cast-off edge, the stitches will curl inward and the awkward part of the stitch will be hidden inside the fabric.
Not a glimpse of my sewing yarn to be seen!
Again, as long as the two sides are at least close to the same length (meaning one is no more than 15% longer than the other), this method is probably the prettiest seaming method out there.
You then just weave in your ends as normal, and if you need to fix any weirdness regarding where the two pieces come together, you can usually do it with your tail. Are you ready to try? Let’s mattress stitch.
Oh, and I will find an excuse to throw a finished photo of the jumper in a future post. This was my Mount Everest!