5 simple ways to make a card
Published on July 22, 2021 2 min readLearning how to fold a card is the first step in becoming a card making connoisseur and we have five fun ways for you to give it a go! Whether it’s a last-minute birthday card, a kid’s craft project or a season’s greeting, grab some high quality cardstock or a simple piece of paper and get ready to learn how to make folding cards.
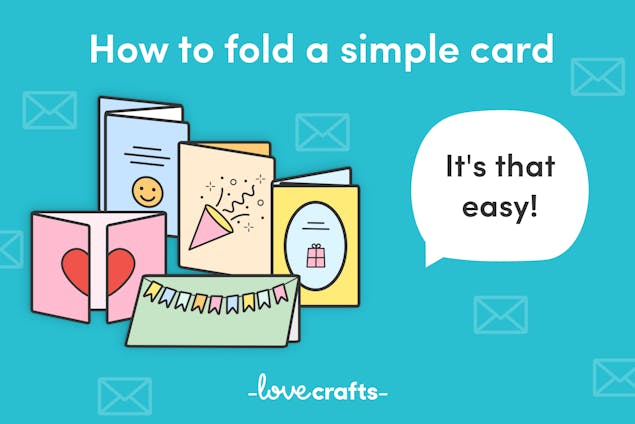
For these card templates, grab some A4 size paper or cardstock to get you started. Once you’ve perfected your folds here, you’ll be able to fold a card in whatever size you would like!
Pick your cardstock!
A portrait card
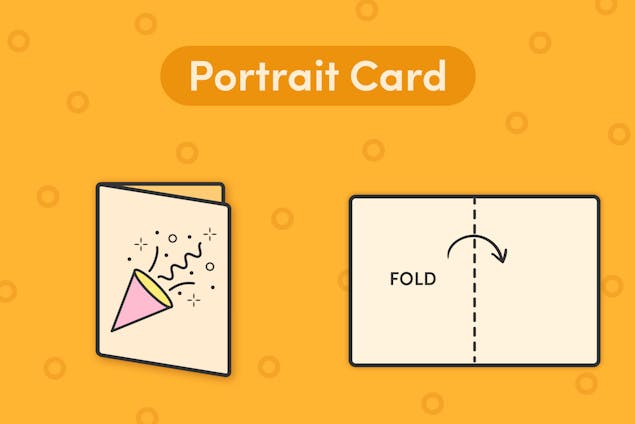
Let’s start simple! A basic but staple card design that you will use time and time again across your paper craft projects.
1
Turn your paper landscape.
2
Fold your paper in half, making sure that the corners match up to create the perfect fold!
3
Use your thumb to smooth down the fold you’ve just made.
4
Stand the card so the front is portrait wise and you’re ready to go!
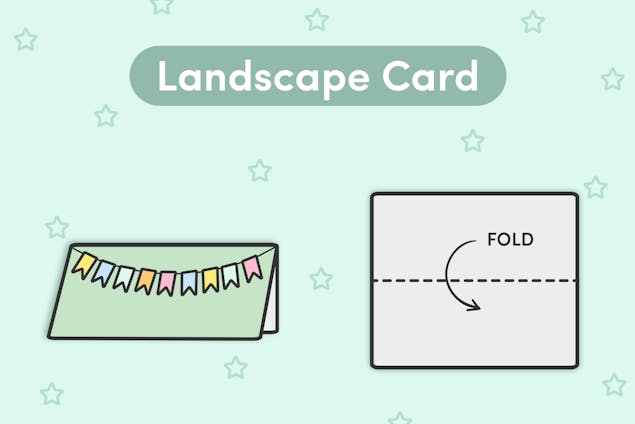
A landscape card
Once you’ve mastered the portrait card, this one is easy! Landscape cards are especially great for kids. Perfect for making pretty scenes, from beaches to cities, mountains and oceans, it's a beautiful blank canvas to get crafty!
1
Turn your paper landscape.
2
Fold your paper in half, making sure that the corners match up to create the perfect fold!
3
Use your thumb to smooth down the fold you’ve just made.
4
Stand the card so the front is landscape and you’re done!
Pro Tip
To get those super crisp folds down the centre of your card, picking up your own bone folder will make this even easier and even more satisfying. If you’re planning on making a bunch of cards yourself, this tool will be your new best friend!
A trifold card
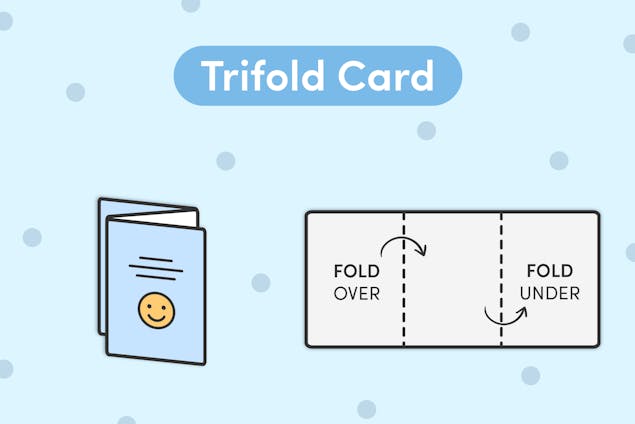
You can have so much fun with the trifold template to create unique custom designs that stretch out. From looong birthday cakes (with lots of candles) to adorable wiener dogs and caterpillars, there are so many ways to stretch the imagination with a trifold card!
1
Turn your paper landscape and divide your card into three equal parts.
Pro Tip
You might want to use a pencil to mark the lines where the parts of your paper are divided.
2
Fold the front part over the middle. Use your thumb to smooth down the fold you've just made.
3
Fold the back part under. Again, use your thumb to smooth the fold.
4
Stand your card up and you're done!
A gatefold card
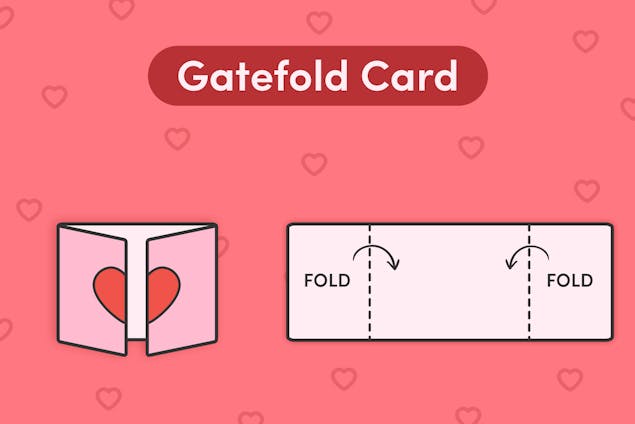
Create a custom card that opens from the middle to reveal delightful surprises - create fun pop ups and more with this template! We love gatefold cards for special occasions such as weddings, Valentines, graduation or anniversaries.
1
Divide your card into 3 parts, with the two outer wings wide enough to meet in the middle.
2
Fold the outer wings inward.
3
Use your thumb to smooth out the creases and you're done!
An aperture card
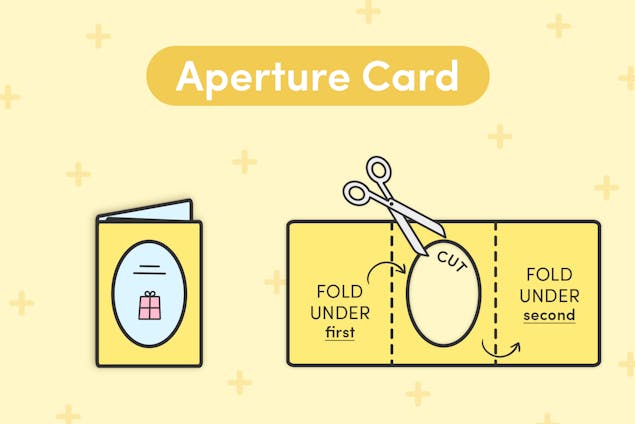
Want to include a special picture or photograph in your card? An aperture card, sometimes called a window card, is fab for showing someone you care or reminding them of a special memory!
1
Divide your card into 3 equal parts.
2
Cut out a window in the middle panel, in any shape you like!
3
Fold the first panel under, using your thumb to smooth out the crease.
4
Fold the third panel under. Stick a photo or image in the window space and secure with glue or tape. Decorate your frame to finish your design!
More Card-Decorating Inspiration!
Once you've learnt how to make a paper card, you'll have so much fun discovering the oodles of ways to decorate and personalize! From collage, pompoms, die cutting and glitter, there are plenty of ways to make your card special for any and every occasion.

